This section allows to mark important places on map, create routes and draw zones. Routes and zones can be used in events to control object movement and reports to get detailed information about particular object. For example, when car or cargo arrives to the desired point, you can get a notification e-mail or short text message (SMS).
All places entries can be assigned to a group, imported, exported and deleted. Use buttons ![]() Groups,
Groups, ![]() Import,
Import, ![]() Export,
Export, ![]() Delete.
Delete.
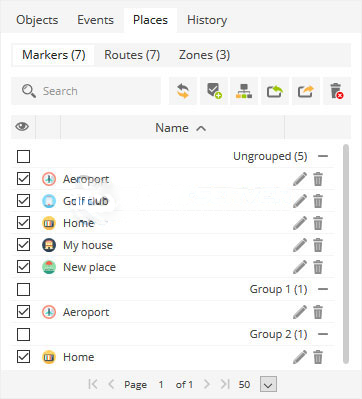
- Markers – allows to create new and see all available markers.
- Routes – create routes, can be used in events to control entrance and exit from predefined route.
- Zones – allows to create new and see all available zones, can be used in events to control entrance and exit from predefined zone.
- Search – search places by name.
- Reload entries.
- Create entry.
- Groups.
- Import – import markers, routes or zones. Supported file types for import: CSV, PLC, KML
- Export – export markers, routes or zones.
- Delete entries – removes all entries.
- Visibility checkbox – turns on or off places visibility on map.
- Zone color or marker icon – color of zone polygon or resized marker icon.
- Place name – zone or marker name.
- Edit – edit zone or marker.
- Delete – delete chosen zone or marker.
Import places
Markers, routes and zones can be imported using CSV, PLC and KML files.
To import markers, routes or zones do next:
- In left panel click on Places tab.
- Choose appropriate sub section.
- Click import button.
- Choose file for data import.
CSV example:
Markers
Markers allows to mark different map locations by placing icons on map.
Add marker
To place marker on map do next:
- In left panel click on Places tab.
- Choose Markers section.
- Click
 add marker button.
 - Marker properties window will appear.
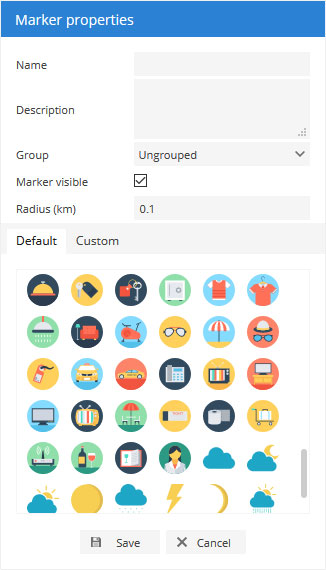
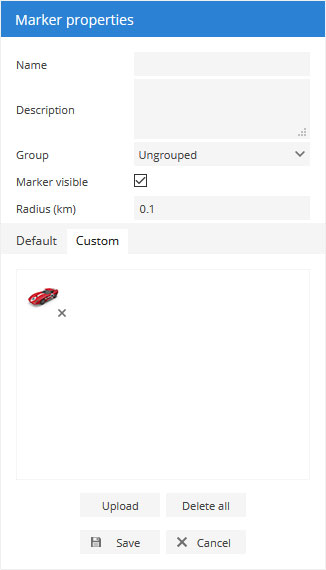
Also custom images can be used.
- Fill name and description (if necessary).
- Choose icon.
- Click left mouse button on desired map location.
- Save settings.
Edit marker
- In left panel click on Places tab.
- Choose Markers section.
- In markers list click
 edit icon.
 - Edit necessary information.
- To change marker position click left mouse button on new map position.
- Save changes.
Routes
Routes section allows to create routes and use them to get notifications about entrance and exits. This feature allows to monitor object dependency to the route.
Add route
To add route do next:
- In left panel click on Places tab.
- Choose Routes section.
- Click
 Add route button.
 - Route properties window will appear.

- Mouse click on map will add route point.
- Double click will add last point.
- Drag points to modify route. Move mouse cursor onto point and press “Del” key on keyboard to remove it.
- Save changes.
Note: existing object history points can be exported as a route which can be imported in Places/Routes.
Zones
Add zone
To add zone do next:
- In left panel click on Places tab.
- Choose Zones section.
- Click
 Add zone button.
 - Zone properties window will appear.
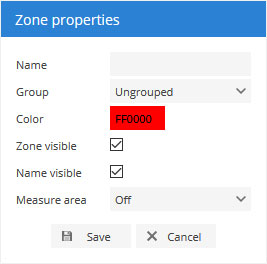
- Mouse click on map will add zone point.
- Double click will add last point.
- Drag points to modify zone. Move mouse cursor onto point and press “Del” key on keyboard to remove it.
- Save changes.
Edit zone
To edit zone do next:
- In left panel click on Places tab.
- Choose Zones section.
- Choose zone and click Edit zone button.
- Zone points will appear.
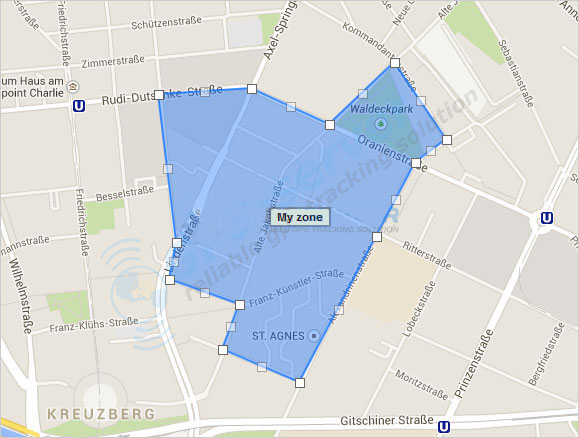
- Drag any point to desired position.
- Save changes.
Groups
To add group do next:
- In left panel click on Places tab.
- Click
 groups button.
 - Groups window will appear.

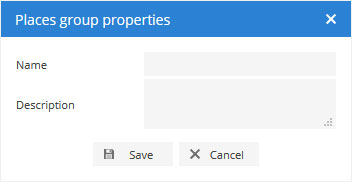
To add group do next:
- In Groups window left bottom corner press
 button.
 - Places group properties window will appear.